Your First Recording
2 min read
Open QuickSnip
Click the QuickSnip icon in your menu bar (macOS) or system tray (Windows) to open the recording panel. This is your control center for all recordings.

Choose What to Record
QuickSnip lets you record your entire screen or a specific window.
- Click the screen selector at the top of the recording panel
- Choose your display or pick a specific window from the grid

Configure Audio and Camera
Before hitting record, check your audio and camera settings:
- Microphone — Select your preferred mic from the dropdown, or turn it off for silent recordings
- System Audio — Toggle on to capture sounds from your computer (music, app sounds, etc.)
- Camera — Optionally enable your webcam for a picture-in-picture overlay
Start Recording
Click the Record button (or use the keyboard shortcut — customizable in Settings → Hotkeys). QuickSnip will start capturing after a brief countdown.
While recording, you'll see a floating toolbar with:
- Timer — Shows how long you've been recording
- Pause — Temporarily pause the recording
- Stop — End the recording

Share Your Recording
What happens when you stop recording depends on your recording mode:
Quick mode (default) — Your video uploads automatically, the share page opens in your browser, and the link copies to your clipboard. Paste and send it immediately.
Studio mode — The studio editor opens with your footage so you can trim, add captions, and polish before sharing.
You can switch between modes anytime from the recording panel. See Recording Modes for more details.
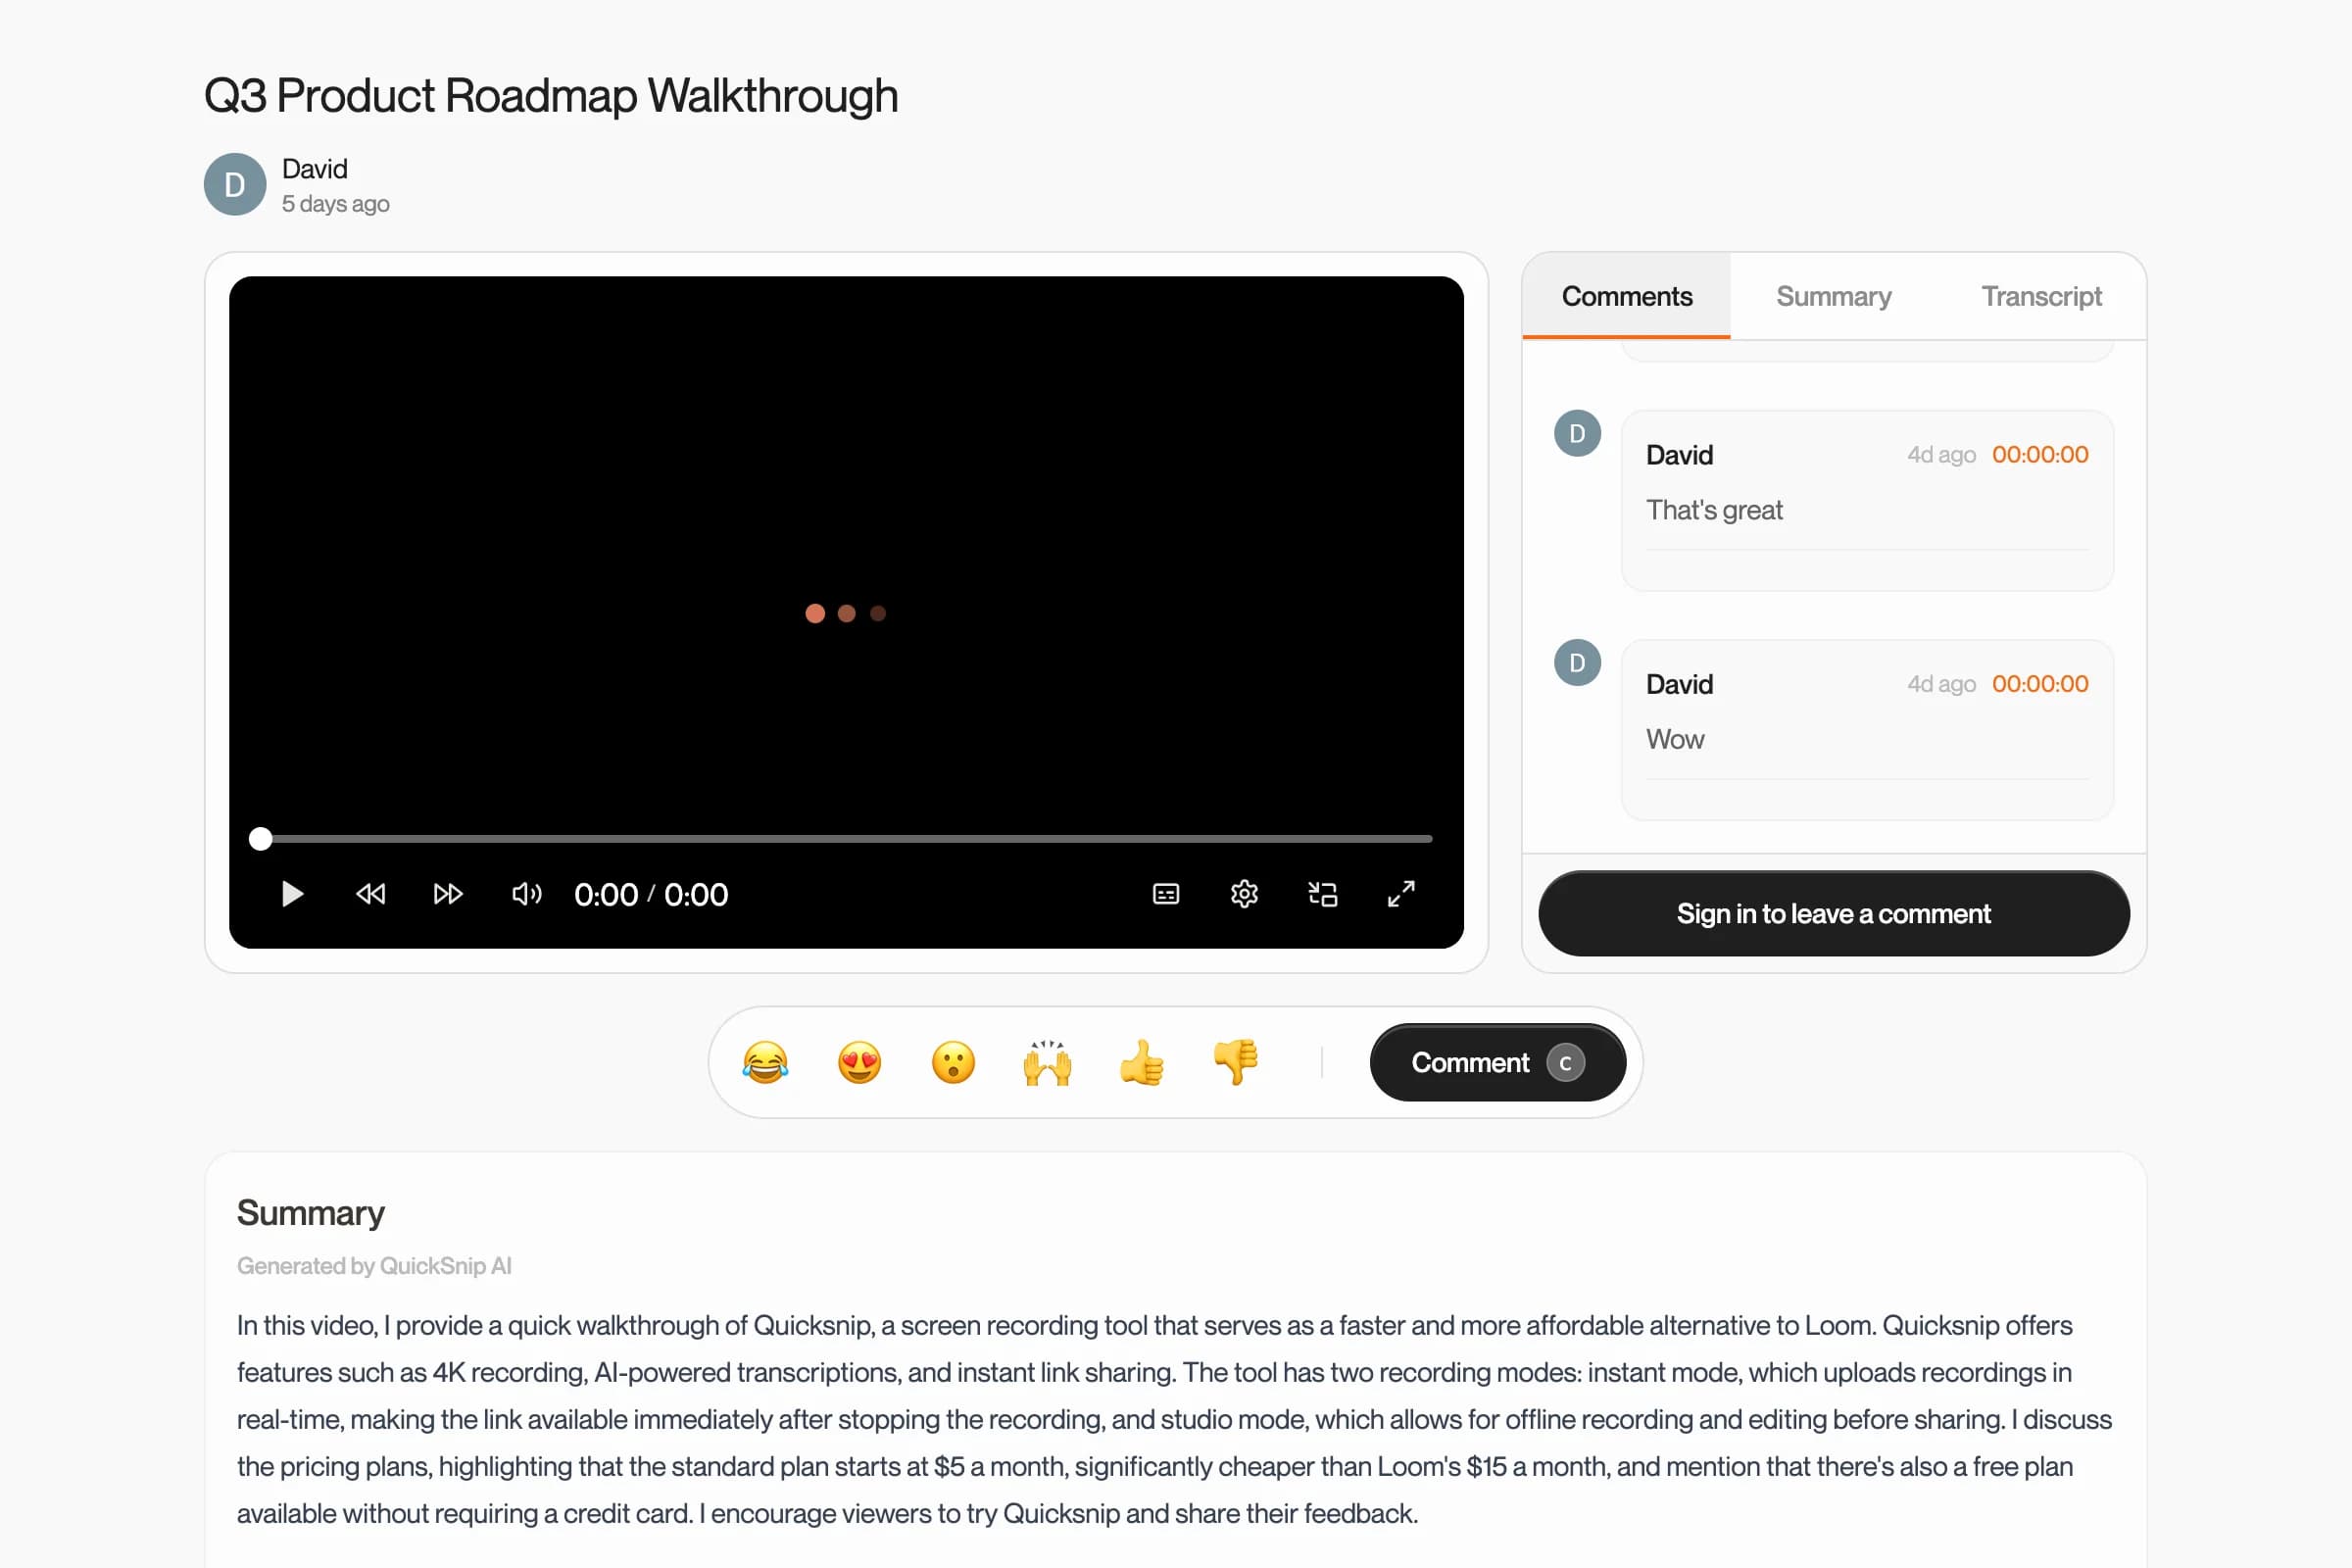
Send the share link to anyone — they can watch it instantly in their browser, no account needed.
What's Next
- Sharing Basics — Learn about the share page features
- Recording Modes — Explore Quick vs Studio mode
- Audio Settings — Fine-tune your audio setup
Can't Find What You Need?
Reach out to our support team and we'll get back to you within 24 hours.